Appboard/old/custom data adapter: Difference between revisions
imported>Jay.barr |
imported>Jay.barr |
||
| Line 108: | Line 108: | ||
=== List Entities for the adapter === | === List Entities for the adapter === | ||
<code>[java,N] | |||
</code> | |||
=== List Attributes for the adapter === | === List Attributes for the adapter === | ||
Revision as of 15:08, 13 April 2011
Environment
- Java SDK (ver 1.6 or greater) - Recommend adding the SDK's bin directory to your PATH.
- Eclipse (ver 3.6+ recommended) - Project works best with M2Eclipse plugin for Maven building, but it is not required.
- AppBoard release with license (ver 2.0.5 for this walkthrough)
Exercise Objective and Setup
This exercise walks though the creation of a Data Adapter for AppBoard and its installation and testing. The AppBoard Java SDK includes a packaged version of the DemoDataAdapter the exercise describes. This can be loaded into AppBoard to walk through the exercise with a running adapter.
- Copy demo-adapter.jar into the <AppBoard-Home>/server/webapps/enportal/WEB-INF/lib/ directory.
- Edit <AppBoard-Home>/server/webapps/enportal/WEB-INF/config/appboard-custom.properties and add the following line:
- appboard.registry.DemoDataAdapter=com.demo.DemoDataAdapter
- Start Tomcat with <AppBoard-Home>/server/startup.bat
Verify Environment
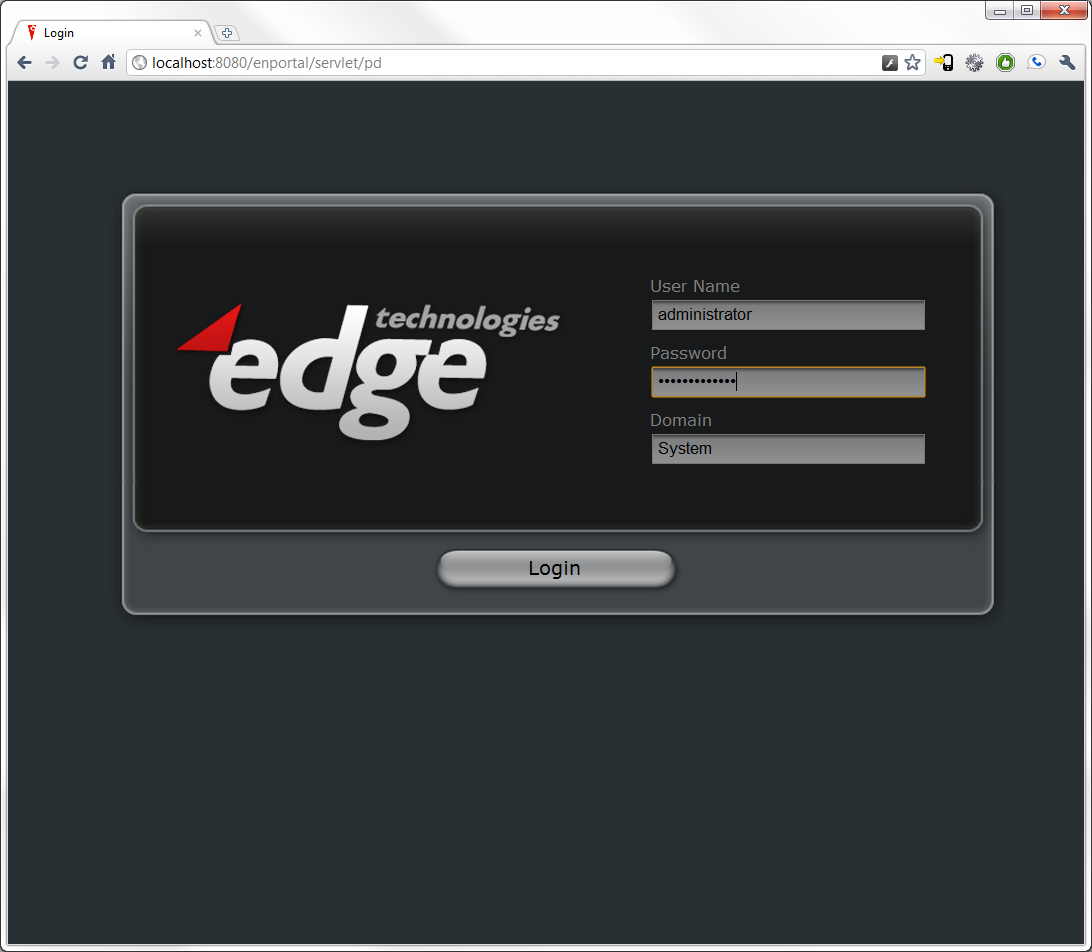
Extract the contents of the AppBoard release into desired directory, referenced as <AB-Home> from here on. Run <AB-Home>/server/bin/startup.bat to start Tomcat, and then browse to http://localhost:8080/. You should see the following:
Login with the default administrator credentials:
- User: administrator
- Password: administrator
- Domain: System
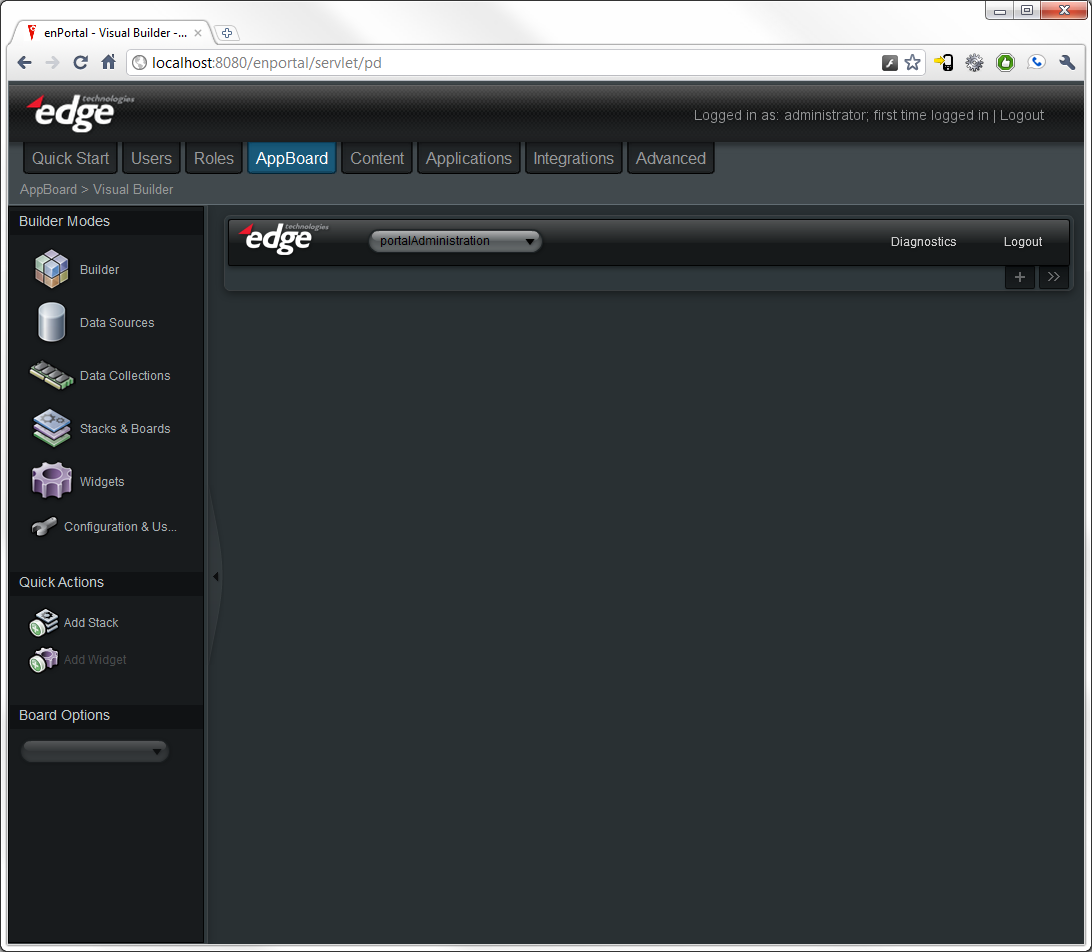
Once you have logged in, click on the AppBoard tab and you will be taken to the Visual Builder's main screen:
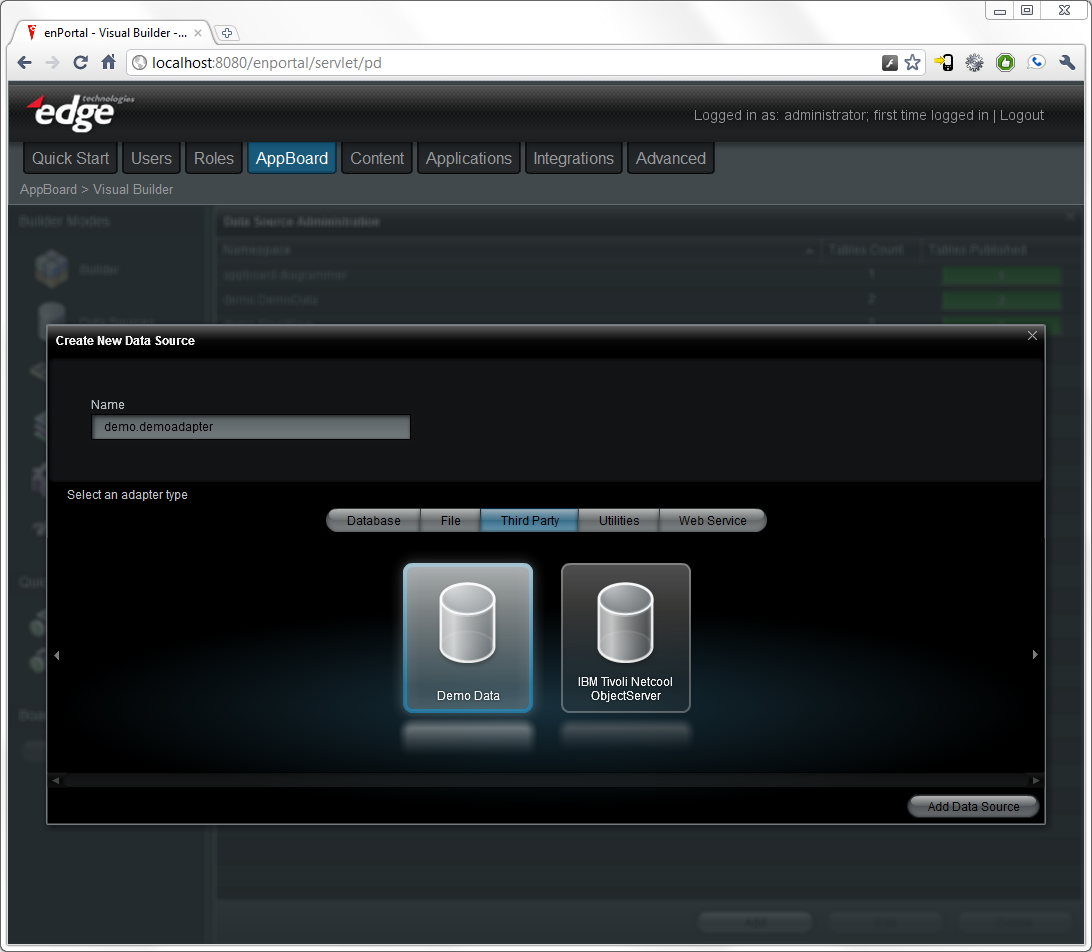
To verify the demo adapter was loaded, select Data Sources and then Add from Visual Builder. Enter demo.demoadapter for Name and select Third Party and Demo Adapter for adapter type.
Configuring Java Project
Data Adapters are implemented in Java and require the edge-apb-<version>.jar to be compiled, as well as any other JARs containing additional classes used in the adapter (e.g. log4j for logging). The AppBoard Java SDK includes a pre-configured Eclipse project that builds using the default Eclipse Java compiler and can have Maven support from the M2Eclipse plugin enabled via the project's content menu (Maven > Enable Dependency Management).
Extending Base CachingRecordAdapter Class
AppBoard Data Adapters extend the abstract class com.edgetech.services.DataAdapter (Note: package will probably be renamed to com.edgetech.appboard in a future release). For ease of implementation, a base class com.edgetech.services.impl.CachingRecordAdapter is used for development of Data Adapters that do not have large memory footprints from high numbers of records (approximately 10,000 records is probably the cutoff where caching the full data set is too high a use of memory and network bandwidth).
Data Adapters must provide the following services, which will be described in detail in the subsequent sections:
- List the Settings that can modify the behavior of the adapter
- List the Entities served by the adapter
- List the Attributes for each Entity
- List the Associations between Entities
- Retrieve the data that comprise the Entities
List Settings for the adapter
The adapter must inform the AppBoard server of the settings that can modify the behavior of the adapter. This is done through the method: public List<SettingDef> getSettingDefs(). SettingDef stores information about the setting such as name, description, data type, and default value. The implementation for DemoDataAdapter follows:
[java,N]
public List<SettingDef> getSettingDefs() {
	List<SettingDef> settings = new ArrayList<SettingDef>(10);
	SettingDef wavePeriod = new SettingDef(SETTING_WAVE_PERIOD,
			"Time in seconds for one period of sine wave.",
			AttributeType.NUMBER, "60");
	wavePeriod.setRequired(true);
	settings.add(wavePeriod);
	SettingDef waveAmplitude = new SettingDef(SETTING_WAVE_AMPLITUDE,
			"Amplitude of the sine wave.", AttributeType.NUMBER, "50");
	waveAmplitude.setRequired(true);
	settings.add(waveAmplitude);
	SettingDef waveOffset = new SettingDef(SETTING_WAVE_OFFSET,
			"Zero offset for sine wave.", AttributeType.NUMBER, "50");
	waveOffset.setRequired(true);
	settings.add(waveOffset);
	SettingDef dataDuration = new SettingDef(SETTING_DURATION,
			"Length of time to display data, in seconds.",
			AttributeType.NUMBER, "600");
	waveOffset.setRequired(true);
	settings.add(dataDuration);
	SettingDef dataInterval = new SettingDef(SETTING_DATA_INTERVAL,
			"Time between samples, in seconds.",
			AttributeType.NUMBER, "10");
	dataInterval.setRequired(true);
	settings.add(dataInterval);
	SettingDef assocationDataPoints = new SettingDef(
			SETTING_ASSOCIATED_DATA_POINTS,
			"Number of data points each side of value. Zero disables association.",
			AttributeType.NUMBER, "3");
	assocationDataPoints.setRequired(true);
	settings.add(assocationDataPoints);
	SettingDef cacheTimeout = new SettingDef(
			CachingRecordAdapter.CACHE_TIMEOUT,
			"Number of seconds to cache data..",
			AttributeType.NUMBER, "30");
	cacheTimeout.setRequired(true);
	settings.add(cacheTimeout);
	return settings;
}
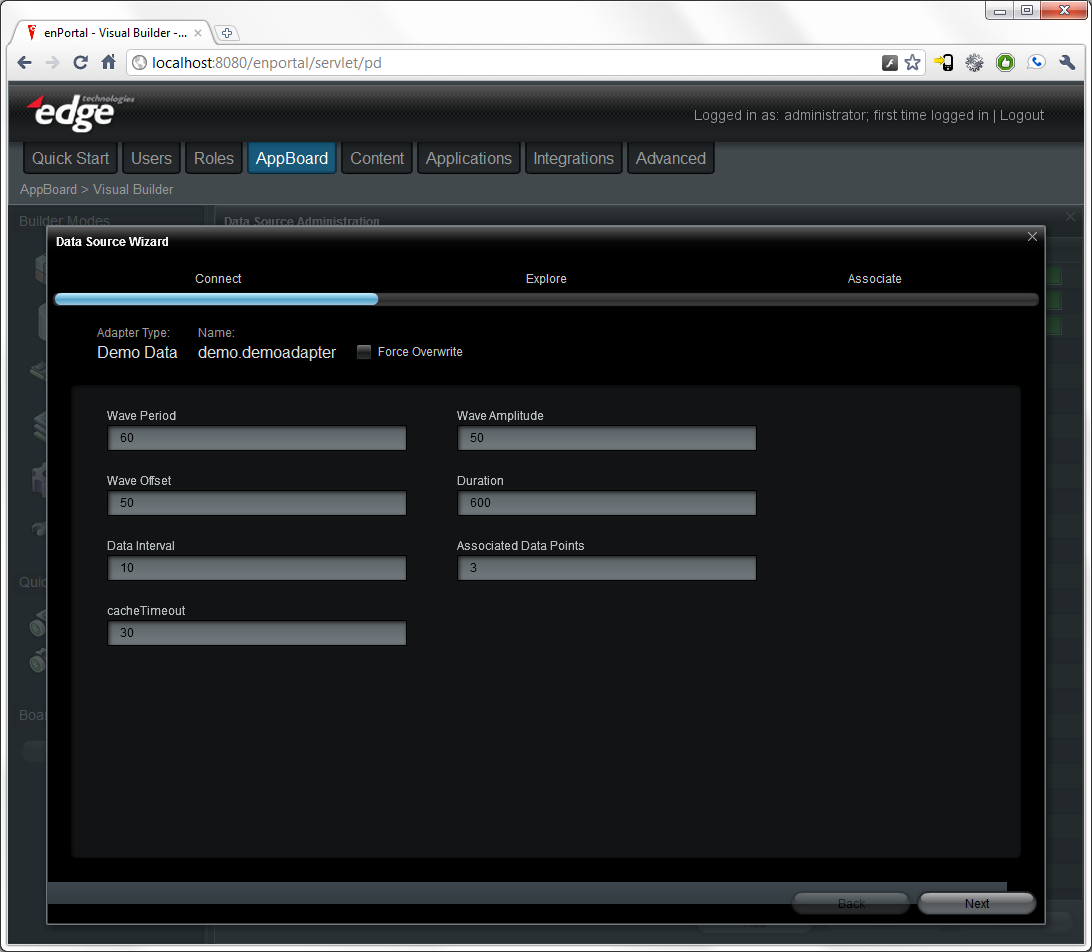
The settings can be seen in the Builder by continuing with the data source addition by selecting Add Data Source, which will display the Connect screen in the Data Source Wizard, shown below:
Note the settings defined in getSettingDefs() appear in order in the wizard.
List Entities for the adapter
[java,N]
List Attributes for the adapter
List Associations for the adapter
Test DemoDataAdapter
