Appboard/2.4/builder/system administration/login page: Difference between revisions
imported>Jason.nicholls |
imported>Jason.nicholls |
||
| Line 20: | Line 20: | ||
* <tt>edgeFlat</tt>: new Flat login page themed using CSS for easier customization | * <tt>edgeFlat</tt>: new Flat login page themed using CSS for easier customization | ||
== Modifying | == Modifying Login Pages == | ||
{{ | {{Warning|Do not directly modify the login pages shipped with AppBoard as these files are not backed up and may be replaced on upgrade.}} | ||
Modifying the login page may be as minimal as changing the logo, or adjusting some of the theming, or completely writing everything custom. In all cases the existing shipped pages and resources should serve as a starting template. The recommended approach is to: | |||
# Choose one of the existing login pages to start with, it's best to use the CSS-based pages if the goal is to simply change the logo and look'n'feel. | |||
# Make a copy of the login page sub-directory with all it's files and sub-directories into a new directory, for example: <tt>[INSTALL_HOME]/server/webapps/enportal/login_pages/customLoginPage</tt> | |||
# Make changes only to this new copy as needed. | |||
# Update the system to use the new login page (refer to ''Changing Login Page'' section above) | |||
# Ensure the custom login page is included in full archives. Refer | |||
Revision as of 08:31, 17 July 2014
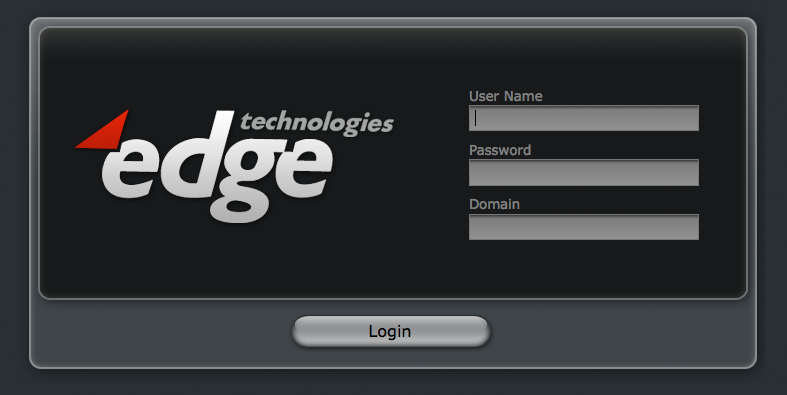
The Login Page administration page allows for system login page to be modified. AppBoard ships with a number of different login page styles to choose from, but these can be modified or completely custom login pages can be created.
To access the Login Page administration page select the System Administration builder mode and select the Login Page icon.
Changing the Login Page
The dialog, as shown above in the example screenshot, shows the current login page setting and a text input field to set a new setting. Enter a new login page location and click the Save button.
Login pages much exist on the AppBoard server in the [INSTALL_HOME]/server/webapps/enportal/login_pages directory. Take a look in this directory to see the available options included with a default AppBoard install:
- (no sub-directory): classic Edge Dark login page
- edgeLight: classic Edge Light login page
- edgeDark_css3: new Dark login page themed using CSS for easier customization
- edgeLight_css3: new Light login page themed using CSS for easier customization
- edgeFlat: new Flat login page themed using CSS for easier customization
Modifying Login Pages
Modifying the login page may be as minimal as changing the logo, or adjusting some of the theming, or completely writing everything custom. In all cases the existing shipped pages and resources should serve as a starting template. The recommended approach is to:
- Choose one of the existing login pages to start with, it's best to use the CSS-based pages if the goal is to simply change the logo and look'n'feel.
- Make a copy of the login page sub-directory with all it's files and sub-directories into a new directory, for example: [INSTALL_HOME]/server/webapps/enportal/login_pages/customLoginPage
- Make changes only to this new copy as needed.
- Update the system to use the new login page (refer to Changing Login Page section above)
- Ensure the custom login page is included in full archives. Refer
Default Login Logo locations
- EdgeDark= /webapps/enportal/login_pages/images/logo.png
- EdgeLight= /webapps/enportal/login_pages/edgeLight/images/logo.png
Changing the Logo on Default Login Page
- Navigate to the appropriate image directory for the skin you are using.
- Open logo.png using an image editor.
- The dimensions of the image are 340x200 pixels.
- Paste desired logo into this file.
- Save over logo.png with a new image.
Additional Information
- Custom Login Pages: How to build completely custom login pages.


